Blur or Redact Sensitive Information
Hide customer names, account numbers and anything else readers should not see, across one step or every step at once.
Blur an Area
- Select the step you want to clean up.
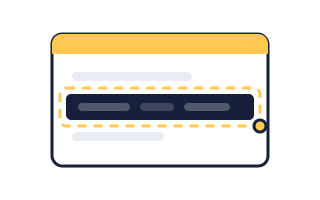
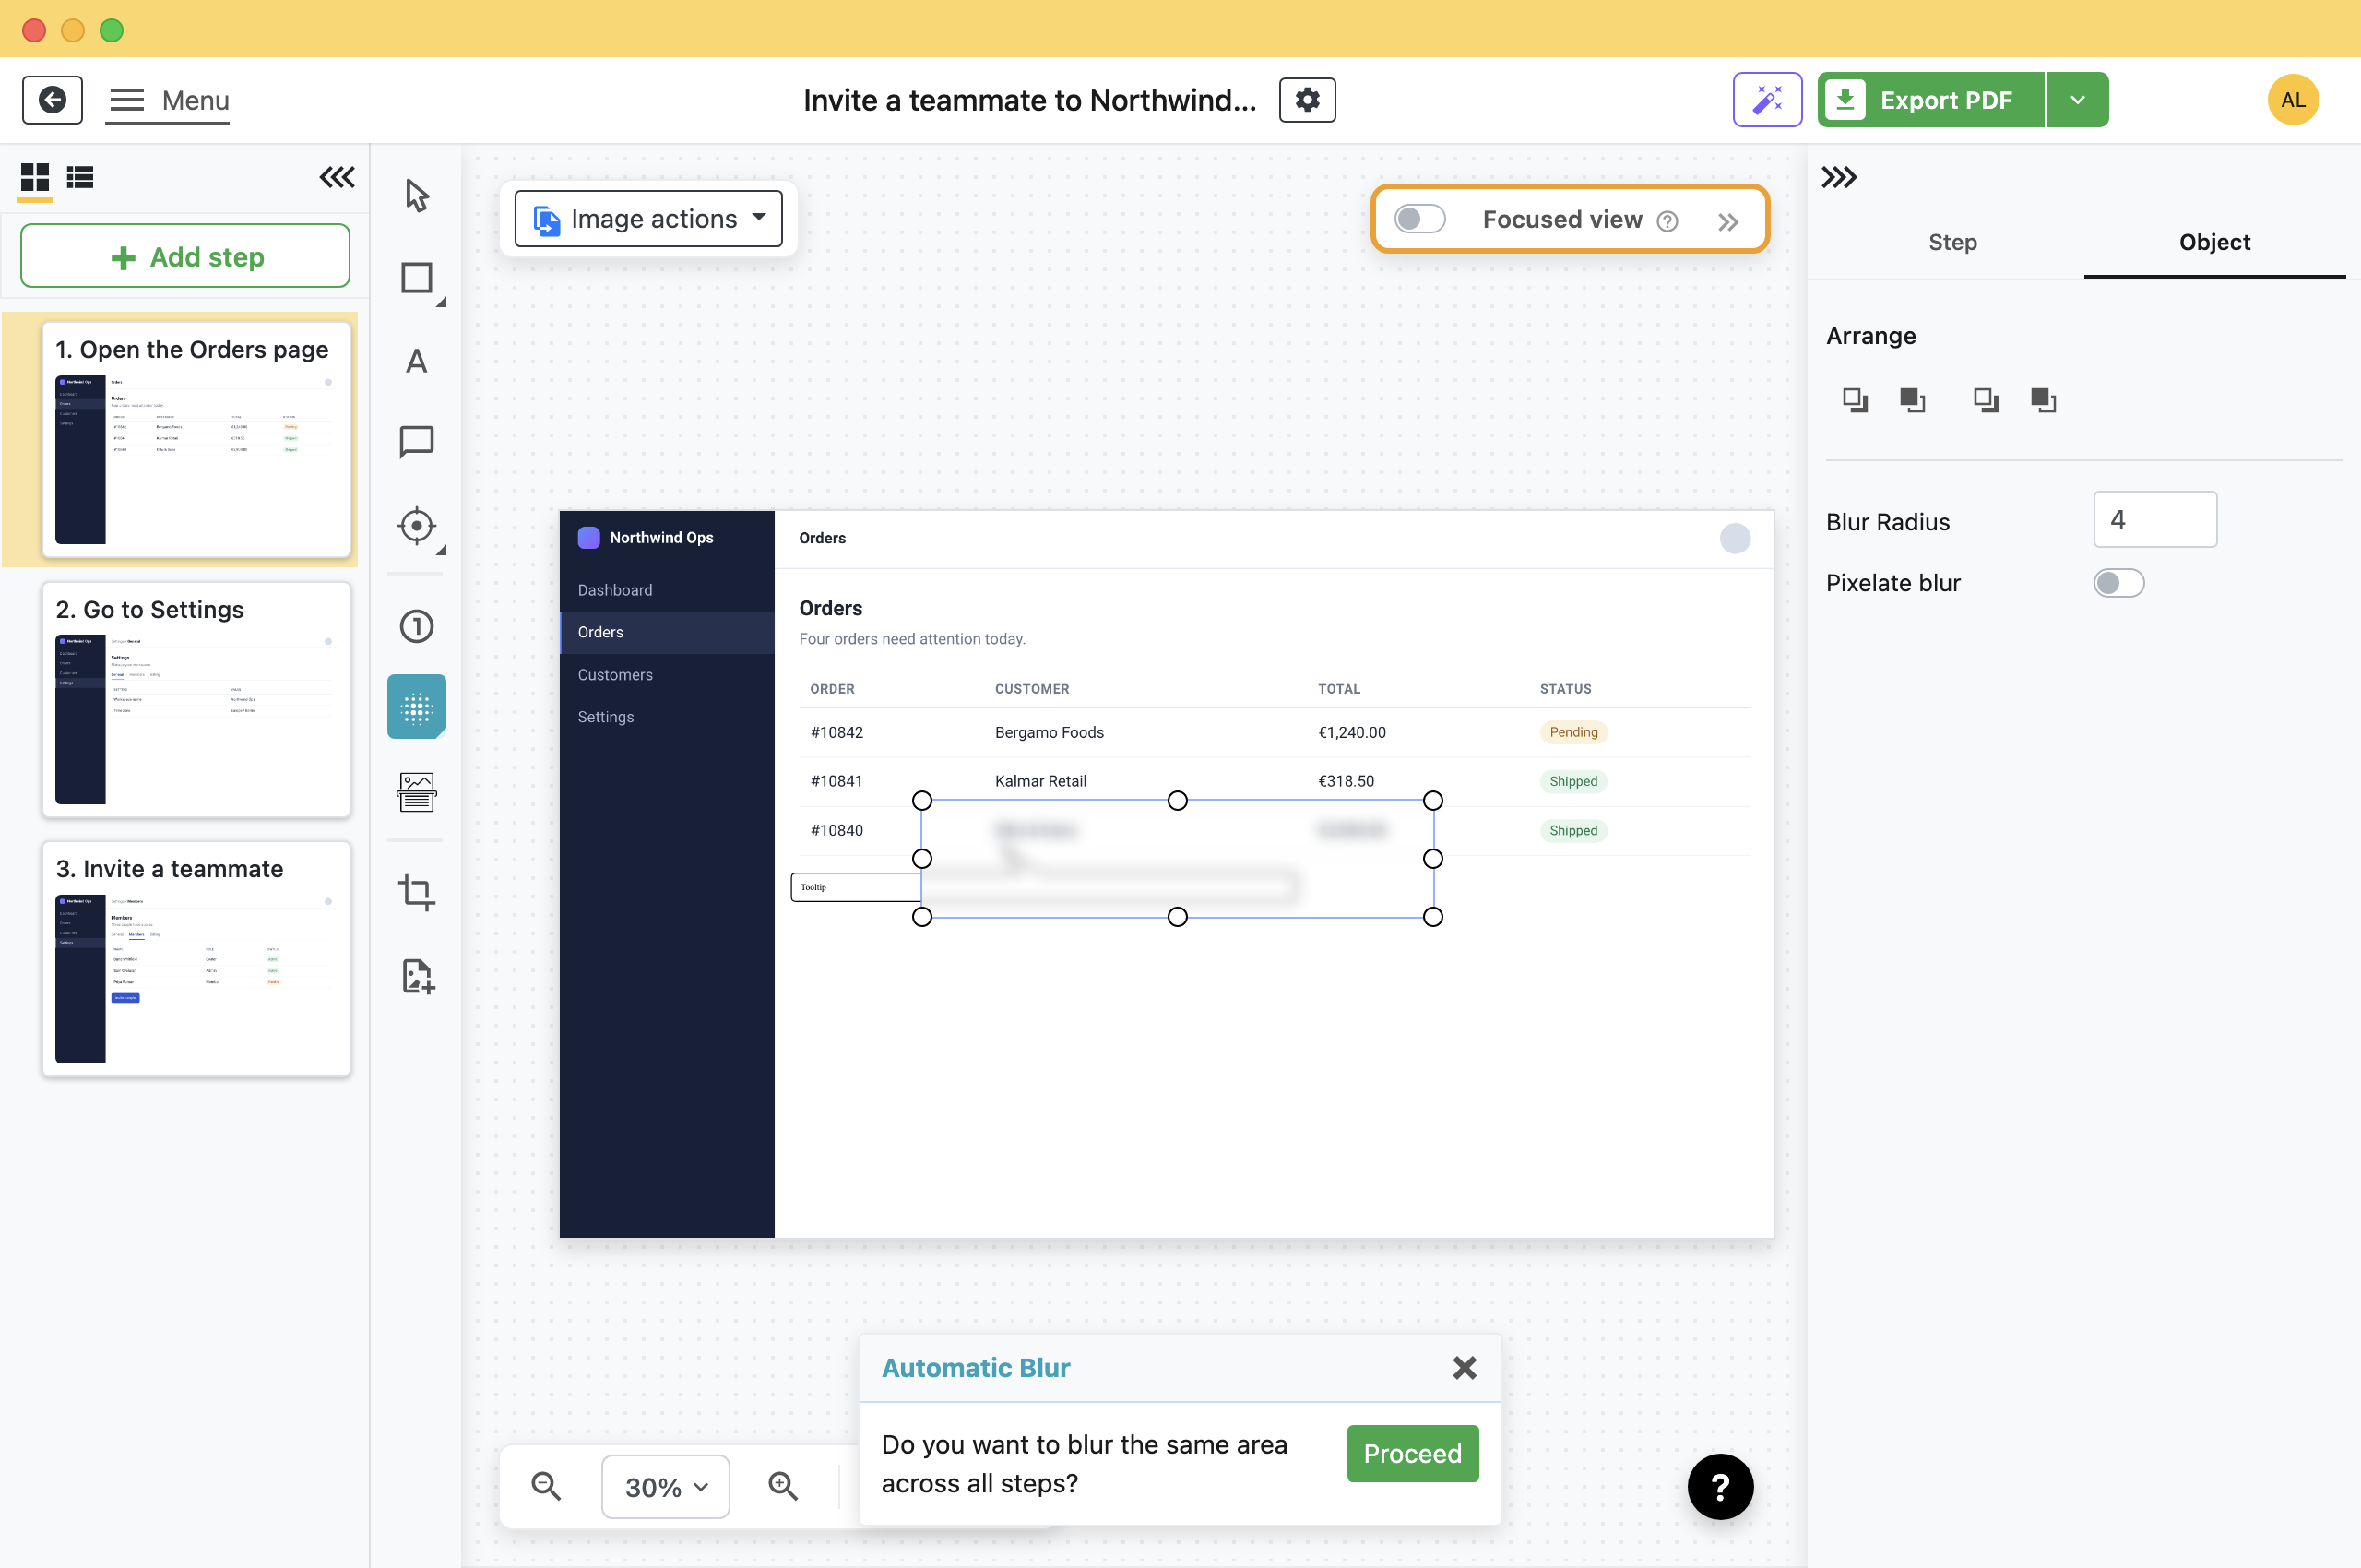
- Press U, or pick Blur Area from the effects group in the toolbar.The cursor becomes a crosshair.
- Drag a rectangle over the part you want hidden.The area behind it is blurred straight away.
The blur is an object like any other. Drag it, resize it from the handles, or select it and press Delete if you put it in the wrong place.
Blur Harder, or Pixelate
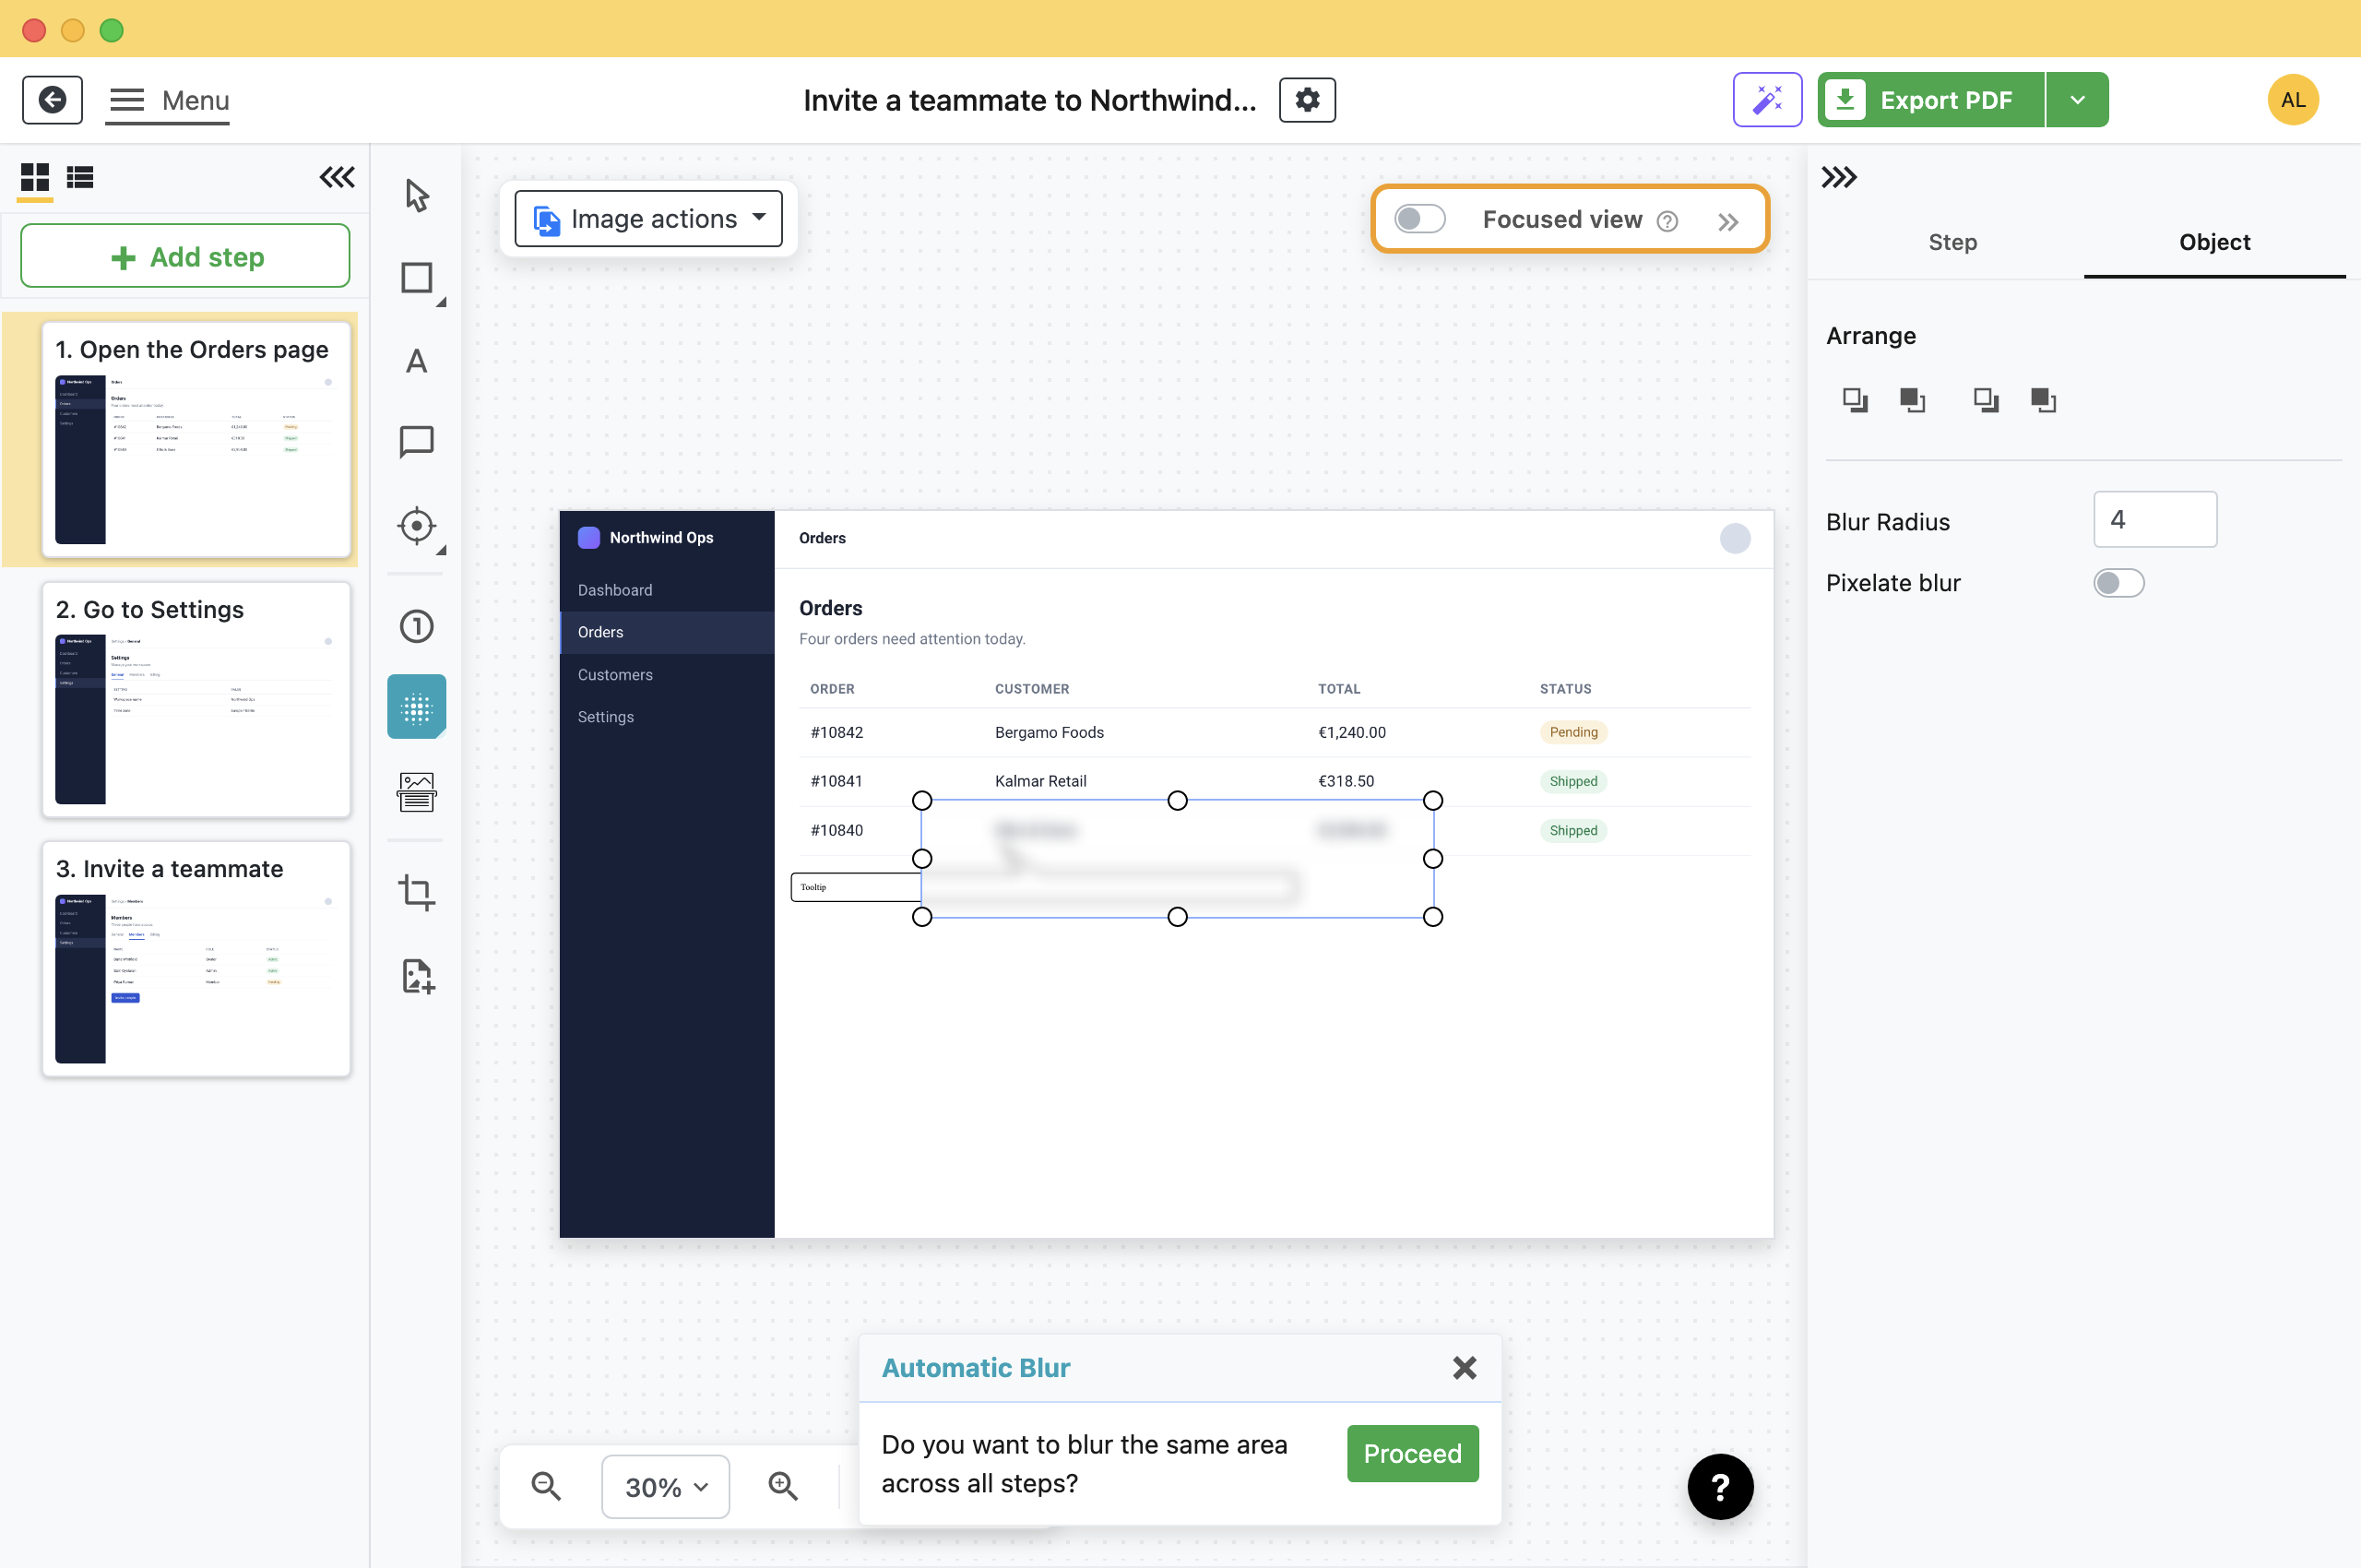
With the blur selected, the Object tab on the right has two controls.
- Blur Radius: How strong the blur is. The default of 4 softens text without hiding it. Raise it until you cannot read the text yourself.
- Pixelate blur: Swaps the smooth blur for square blocks. It reads more obviously as "deliberately hidden", which is useful when a reader might otherwise think the screenshot is just out of focus.
The Same Area on Every Step
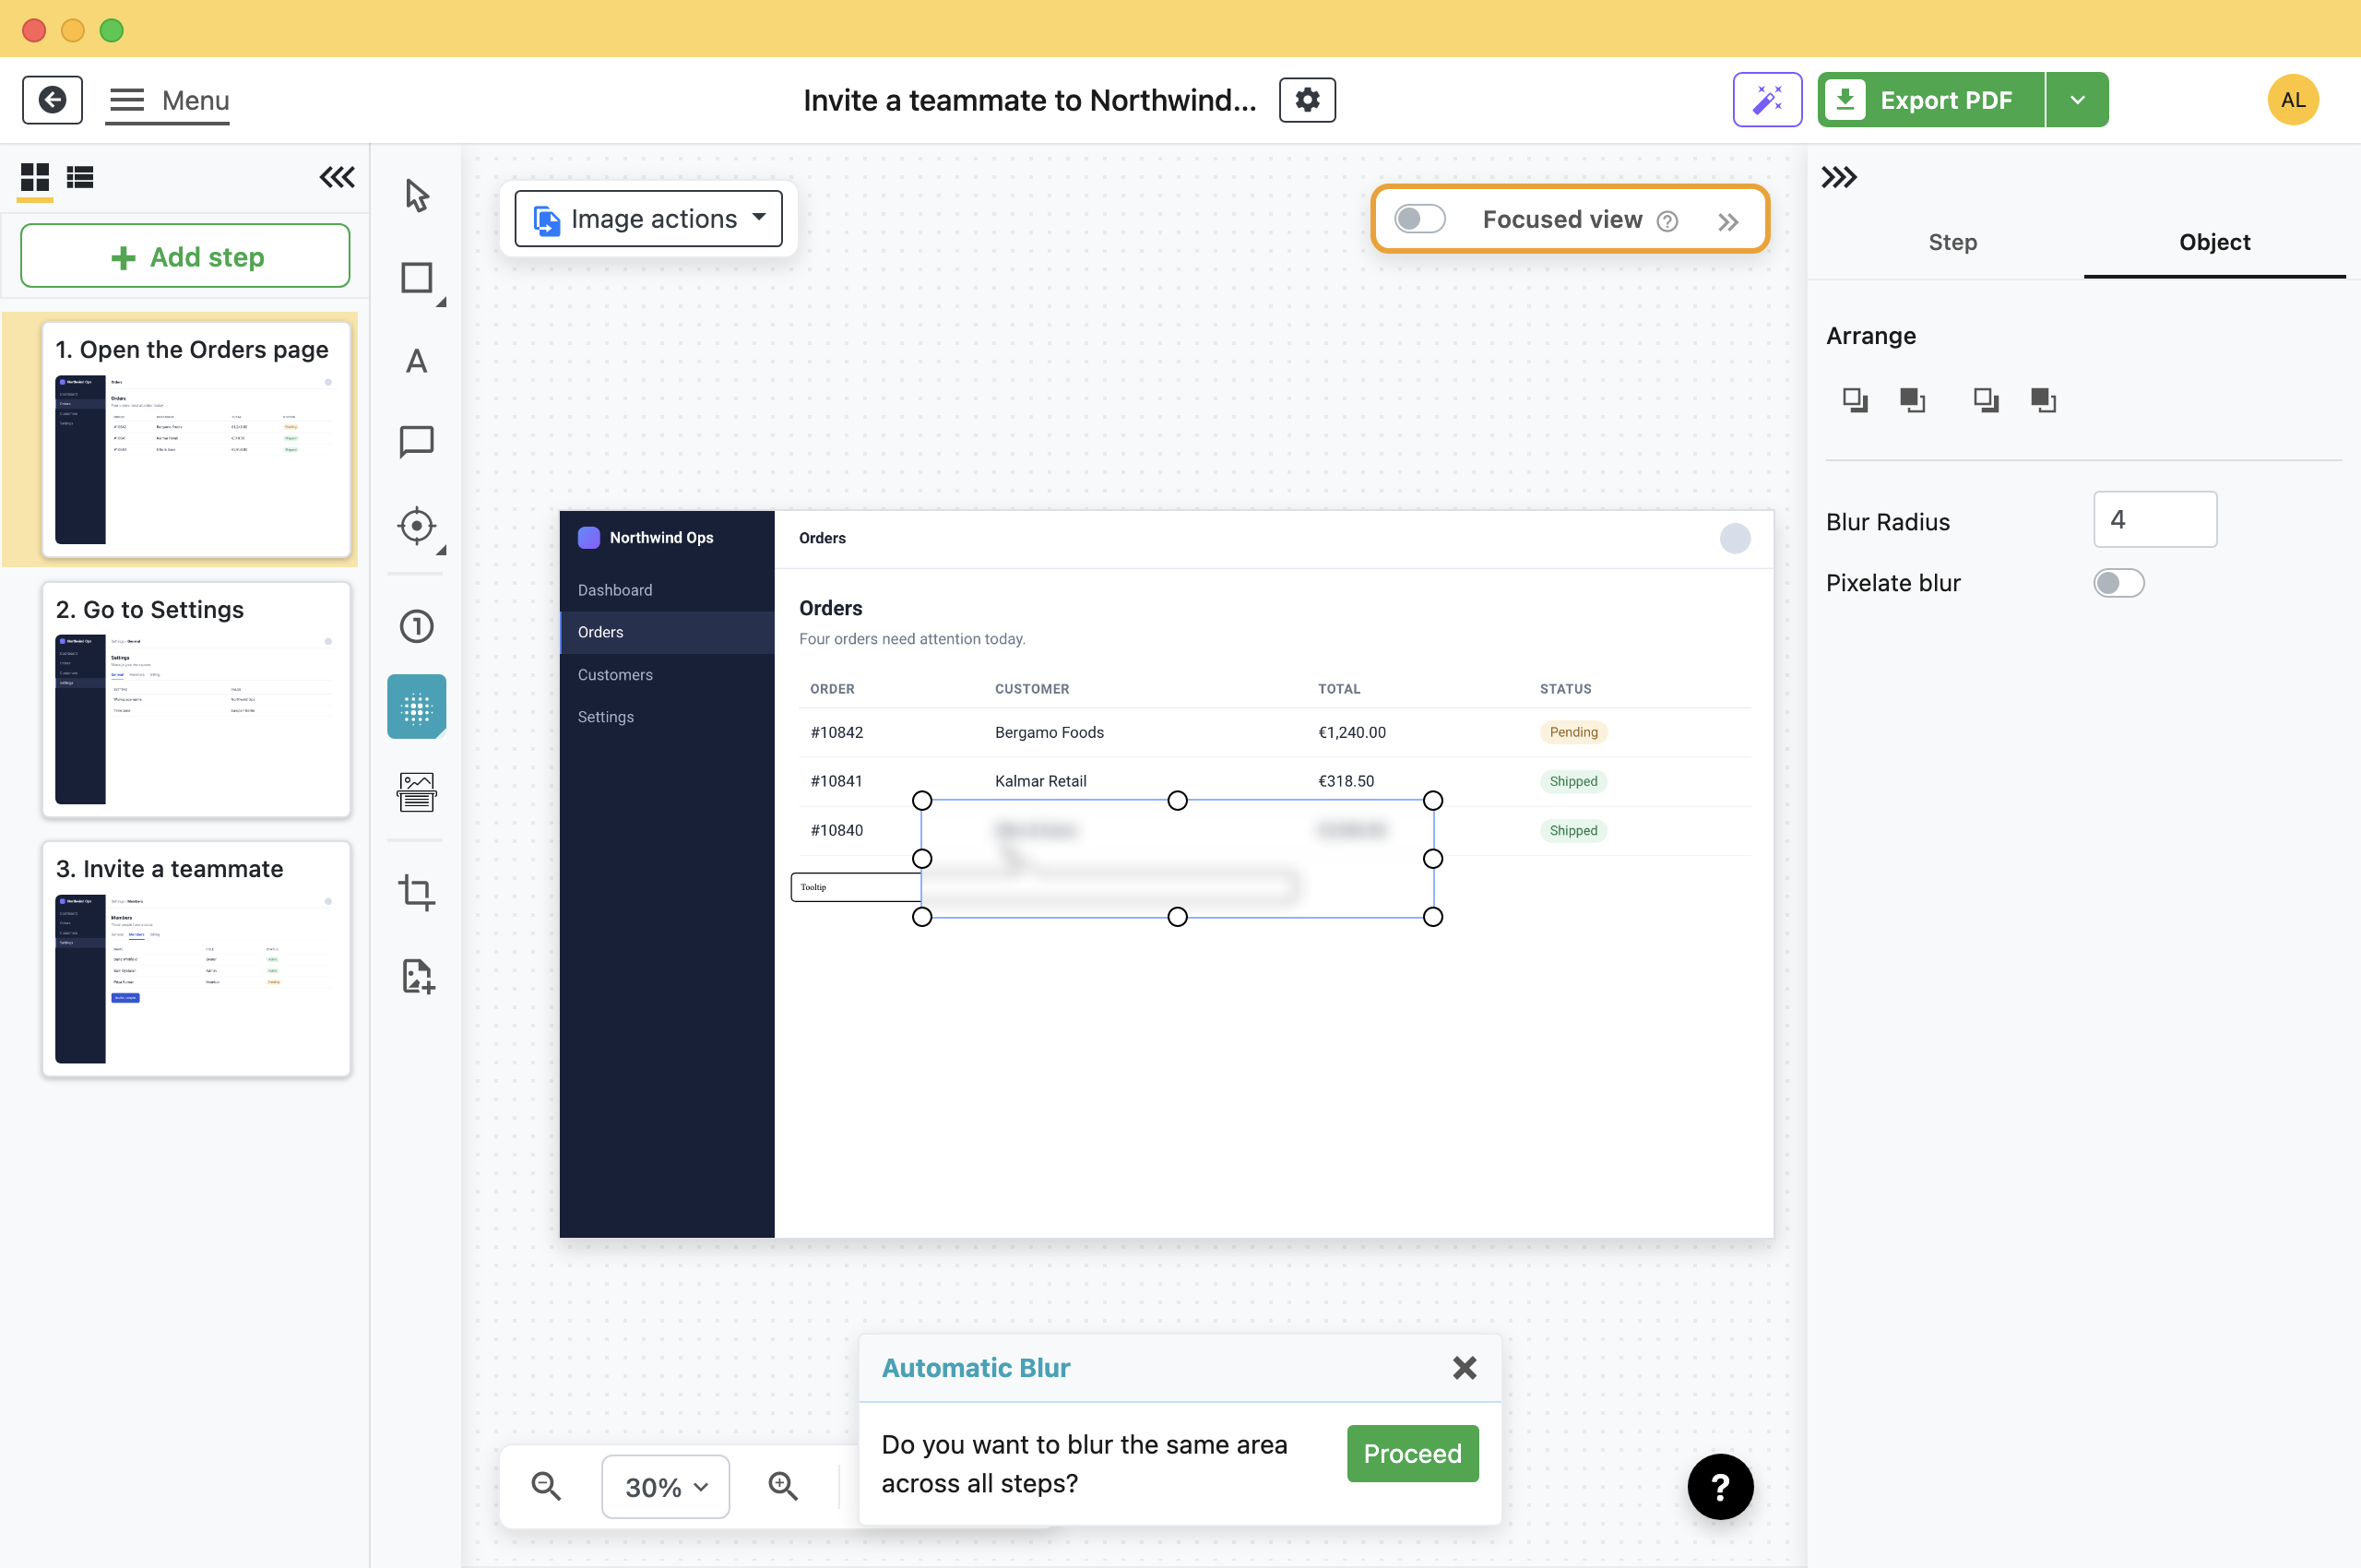
When you blur an area, Folge can find the same area on your other steps and blur it there too.
- Draw the blur once.
- When Automatic Blur appears, click Proceed.Folge finds the other steps whose screenshots have the same area and shows you which ones it matched.
- Pick the steps to apply it to, then confirm.
What Actually Leaves Your Computer
This is the part worth getting right, because blurring is one of the few things in documentation where a mistake is not recoverable once the file is sent.
A blur in Folge is an object drawn over the screenshot, not a change to the screenshot itself. What that means depends entirely on what you hand over.
- Exported files are safe: Every export renders the step to flat pixels first: PDF, Word, PowerPoint, HTML, Markdown, images, SCORM, Folge Cloud and the direct integrations such as Confluence, Notion and WordPress. The blur is part of the image, and the original is not in the file.
- A .flgg backup is not: A backup file exists so a guide can be restored and edited, so it contains the original screenshots and the blur as an object that can be deleted. Sending someone a .flgg of a guide you redacted hands them the unredacted originals.
When Blur Is Not Enough
A light blur can sometimes be reversed, and a short, predictable string like a six-digit account number can occasionally be guessed from the shape left behind. For anything that must not leak, do not rely on softening the pixels.
- Cover it instead: Draw a filled rectangle over the area. Nothing of the original survives underneath in the export, because there is nothing to reverse.
- Or do not capture it at all: Use a test account, or Selected Region so the sensitive panel is never in the frame.
- Turn the radius up: If you do use blur, a large radius or pixelation destroys far more information than the default.
For a screenshot that is not part of a guide, there is a free browser tool that does the same job without installing anything.
What this is good for
- Document a real system without exposing real customer data.
- Send a process to someone outside the company.
- Keep a screenshot in a guide that auditors will read.
Make guides like this one
Folge takes a screenshot on every click, so you make a guide by doing the task once.