Put Your Branding on a PDF
Add a header, a footer, page numbers, your logo and a watermark, then save the lot so every export looks the same.

Header and Footer
Both live on the Design tab, and each is a switch that reveals its own settings.
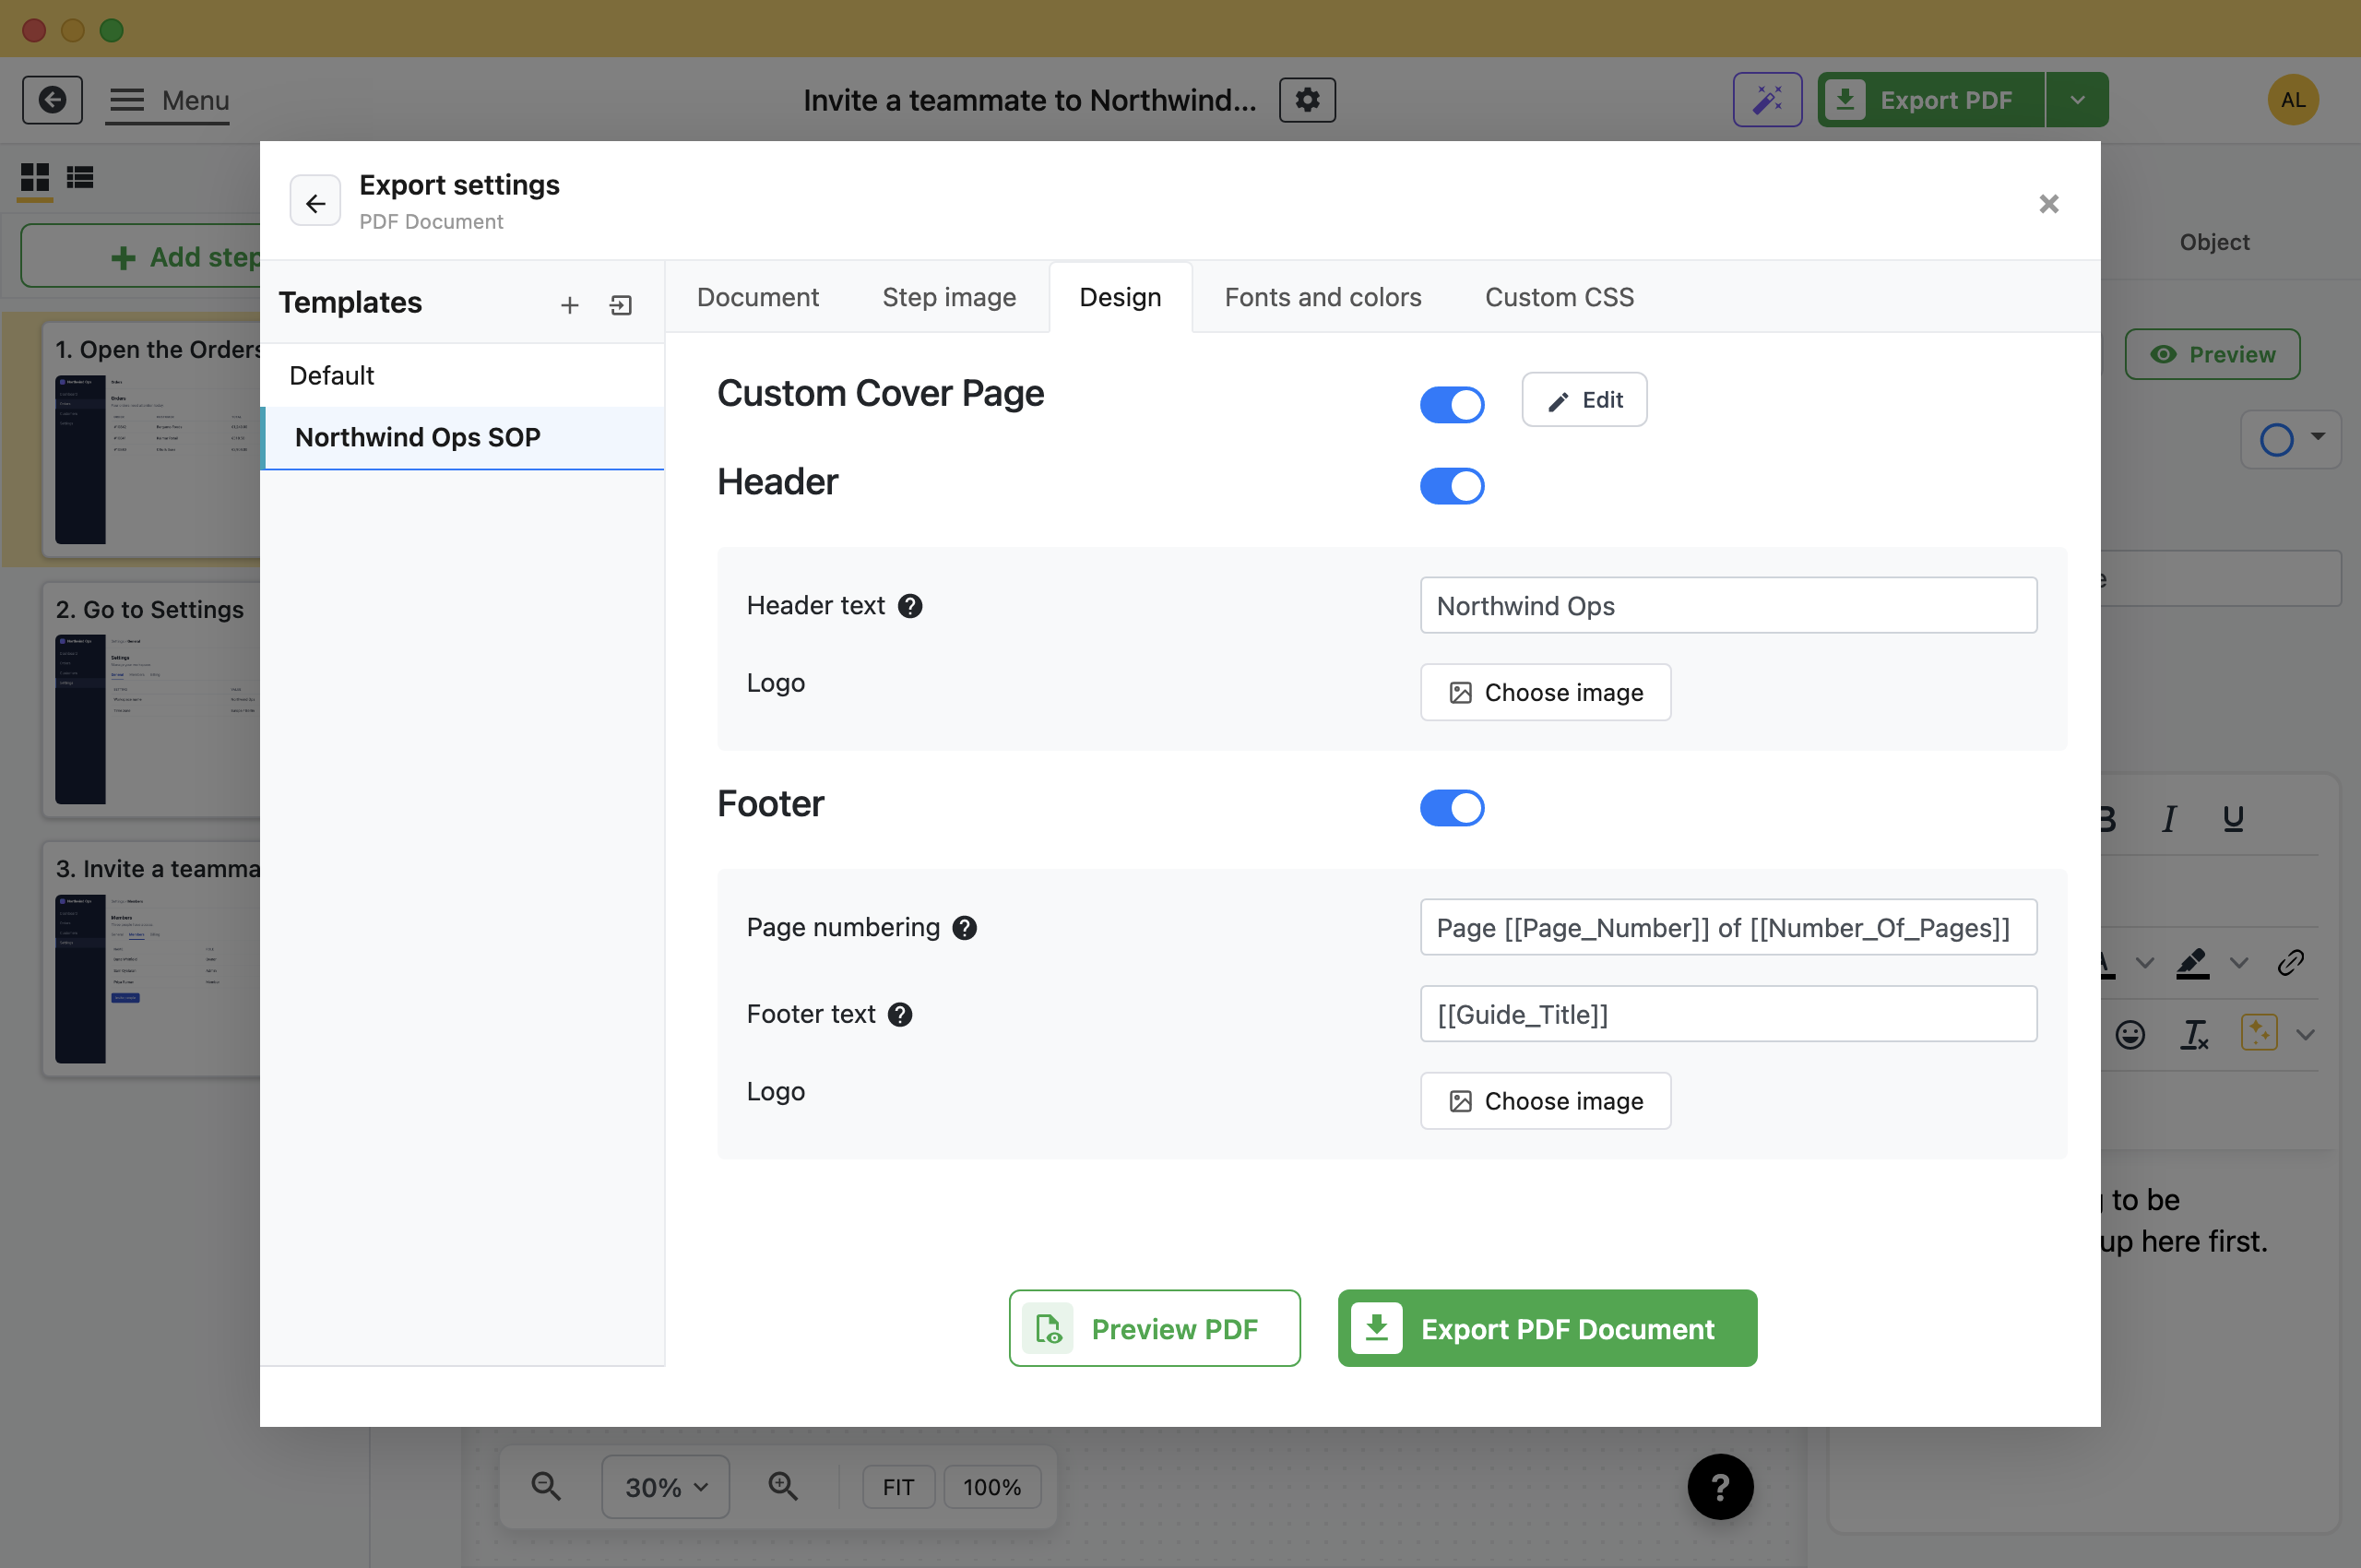
- Header text: Repeats at the top of every page.
- Page numbering: A footer field of its own, separate from the footer text. This is where the page-number placeholders go.
- Footer text: Repeats at the bottom of every page.
- Logo: Header and footer have a logo each, with its own position. A logo in the header does not add one to the footer.
The Six Placeholders
Type these into the header, footer or page-numbering fields and Folge replaces them as it renders.
| Placeholder | Becomes |
|---|---|
| [[Guide_Title]] | The title of the guide |
| [[Date]] | The date the file was exported |
| [[Date_Time]] | The date and the time |
| [[Page_Number]] | The number of the page it appears on |
| [[Number_Of_Pages]] | The total page count |
| [[Step_Title]] | The title of the step on that page |
They combine, so Page [[Page_Number]] of [[Number_Of_Pages]] in the page numbering field prints, for example, Page 3 of 12.
Add a Watermark
Custom watermark is not on the Design tab. It is on the Step image tab, and Folge adds it to each screenshot, not to the page.
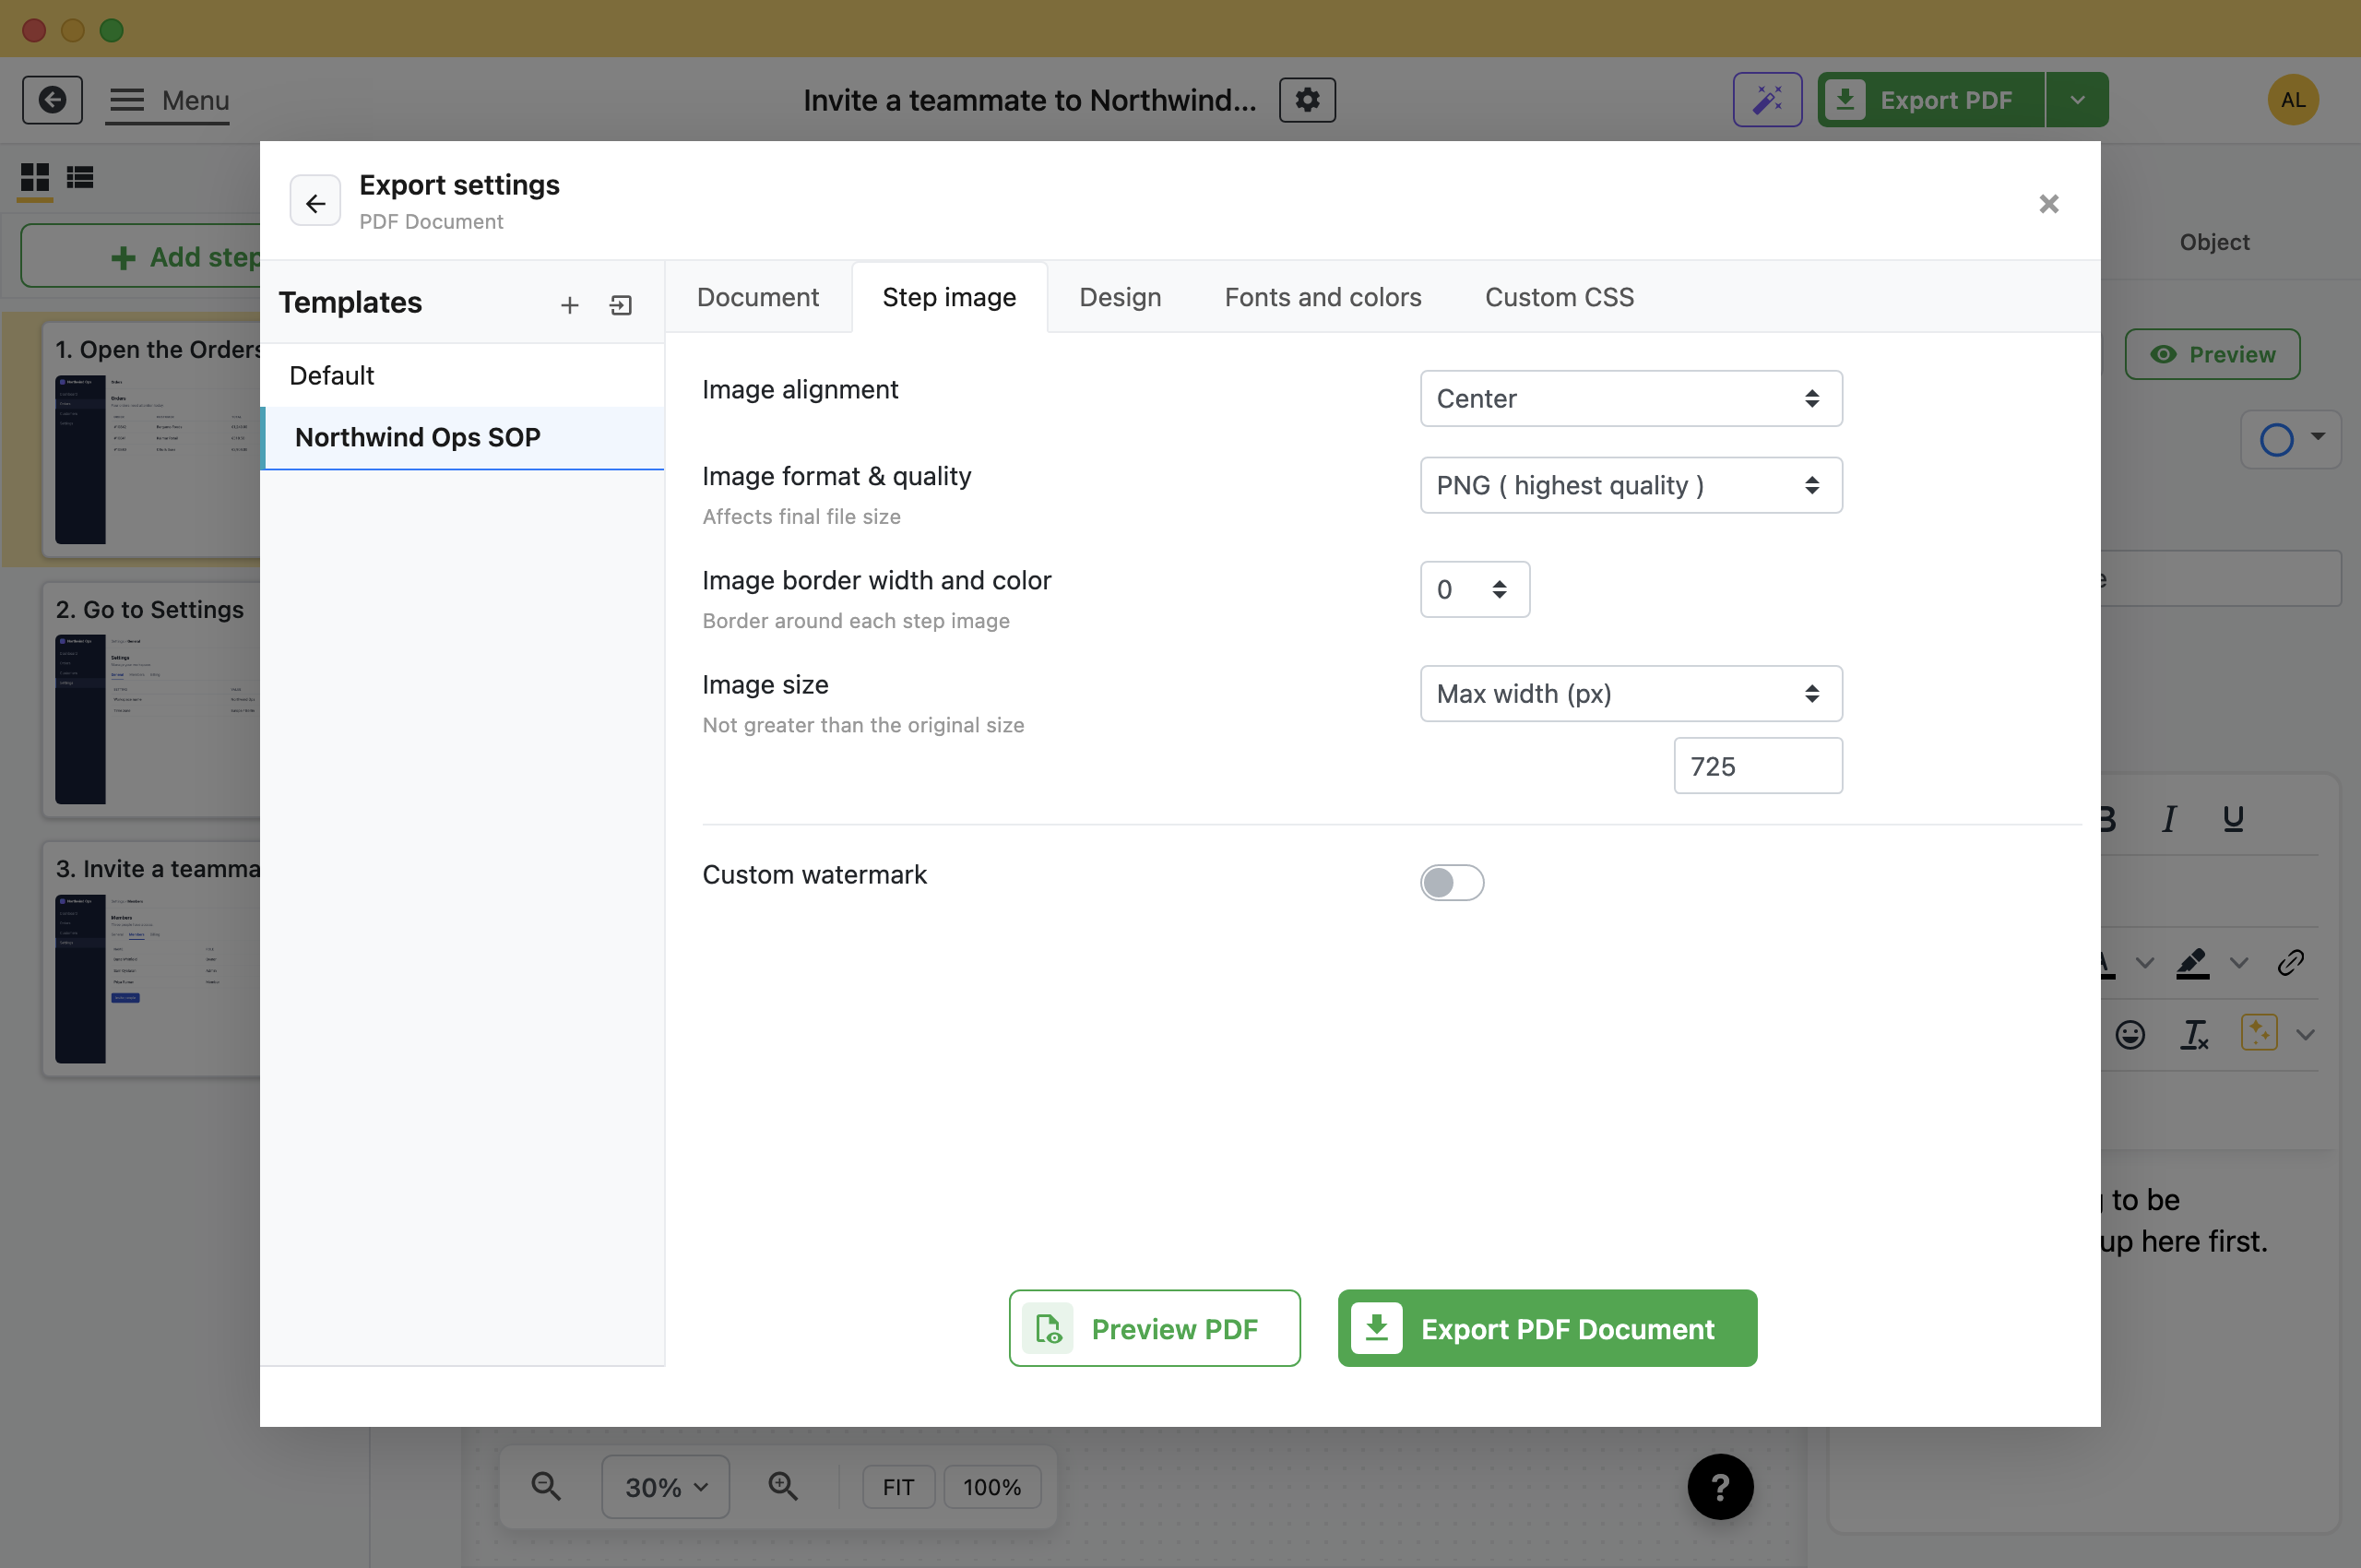
Switch it on and you get an image to upload, plus its position, opacity, size and padding. Low opacity and a corner position marks a draft without making the screenshots unreadable.
The rest of that tab is about how the pictures look rather than the brand: alignment, format and quality, a border, and the size cap. Export to PDF covers those.
Colours and Type
The Fonts and colors tab sets the typeface and colours for guide titles, step titles, descriptions and the cover page.
On the Custom CSS tab you can write your own CSS for anything the other settings do not cover.
Save Your Branding as a Template
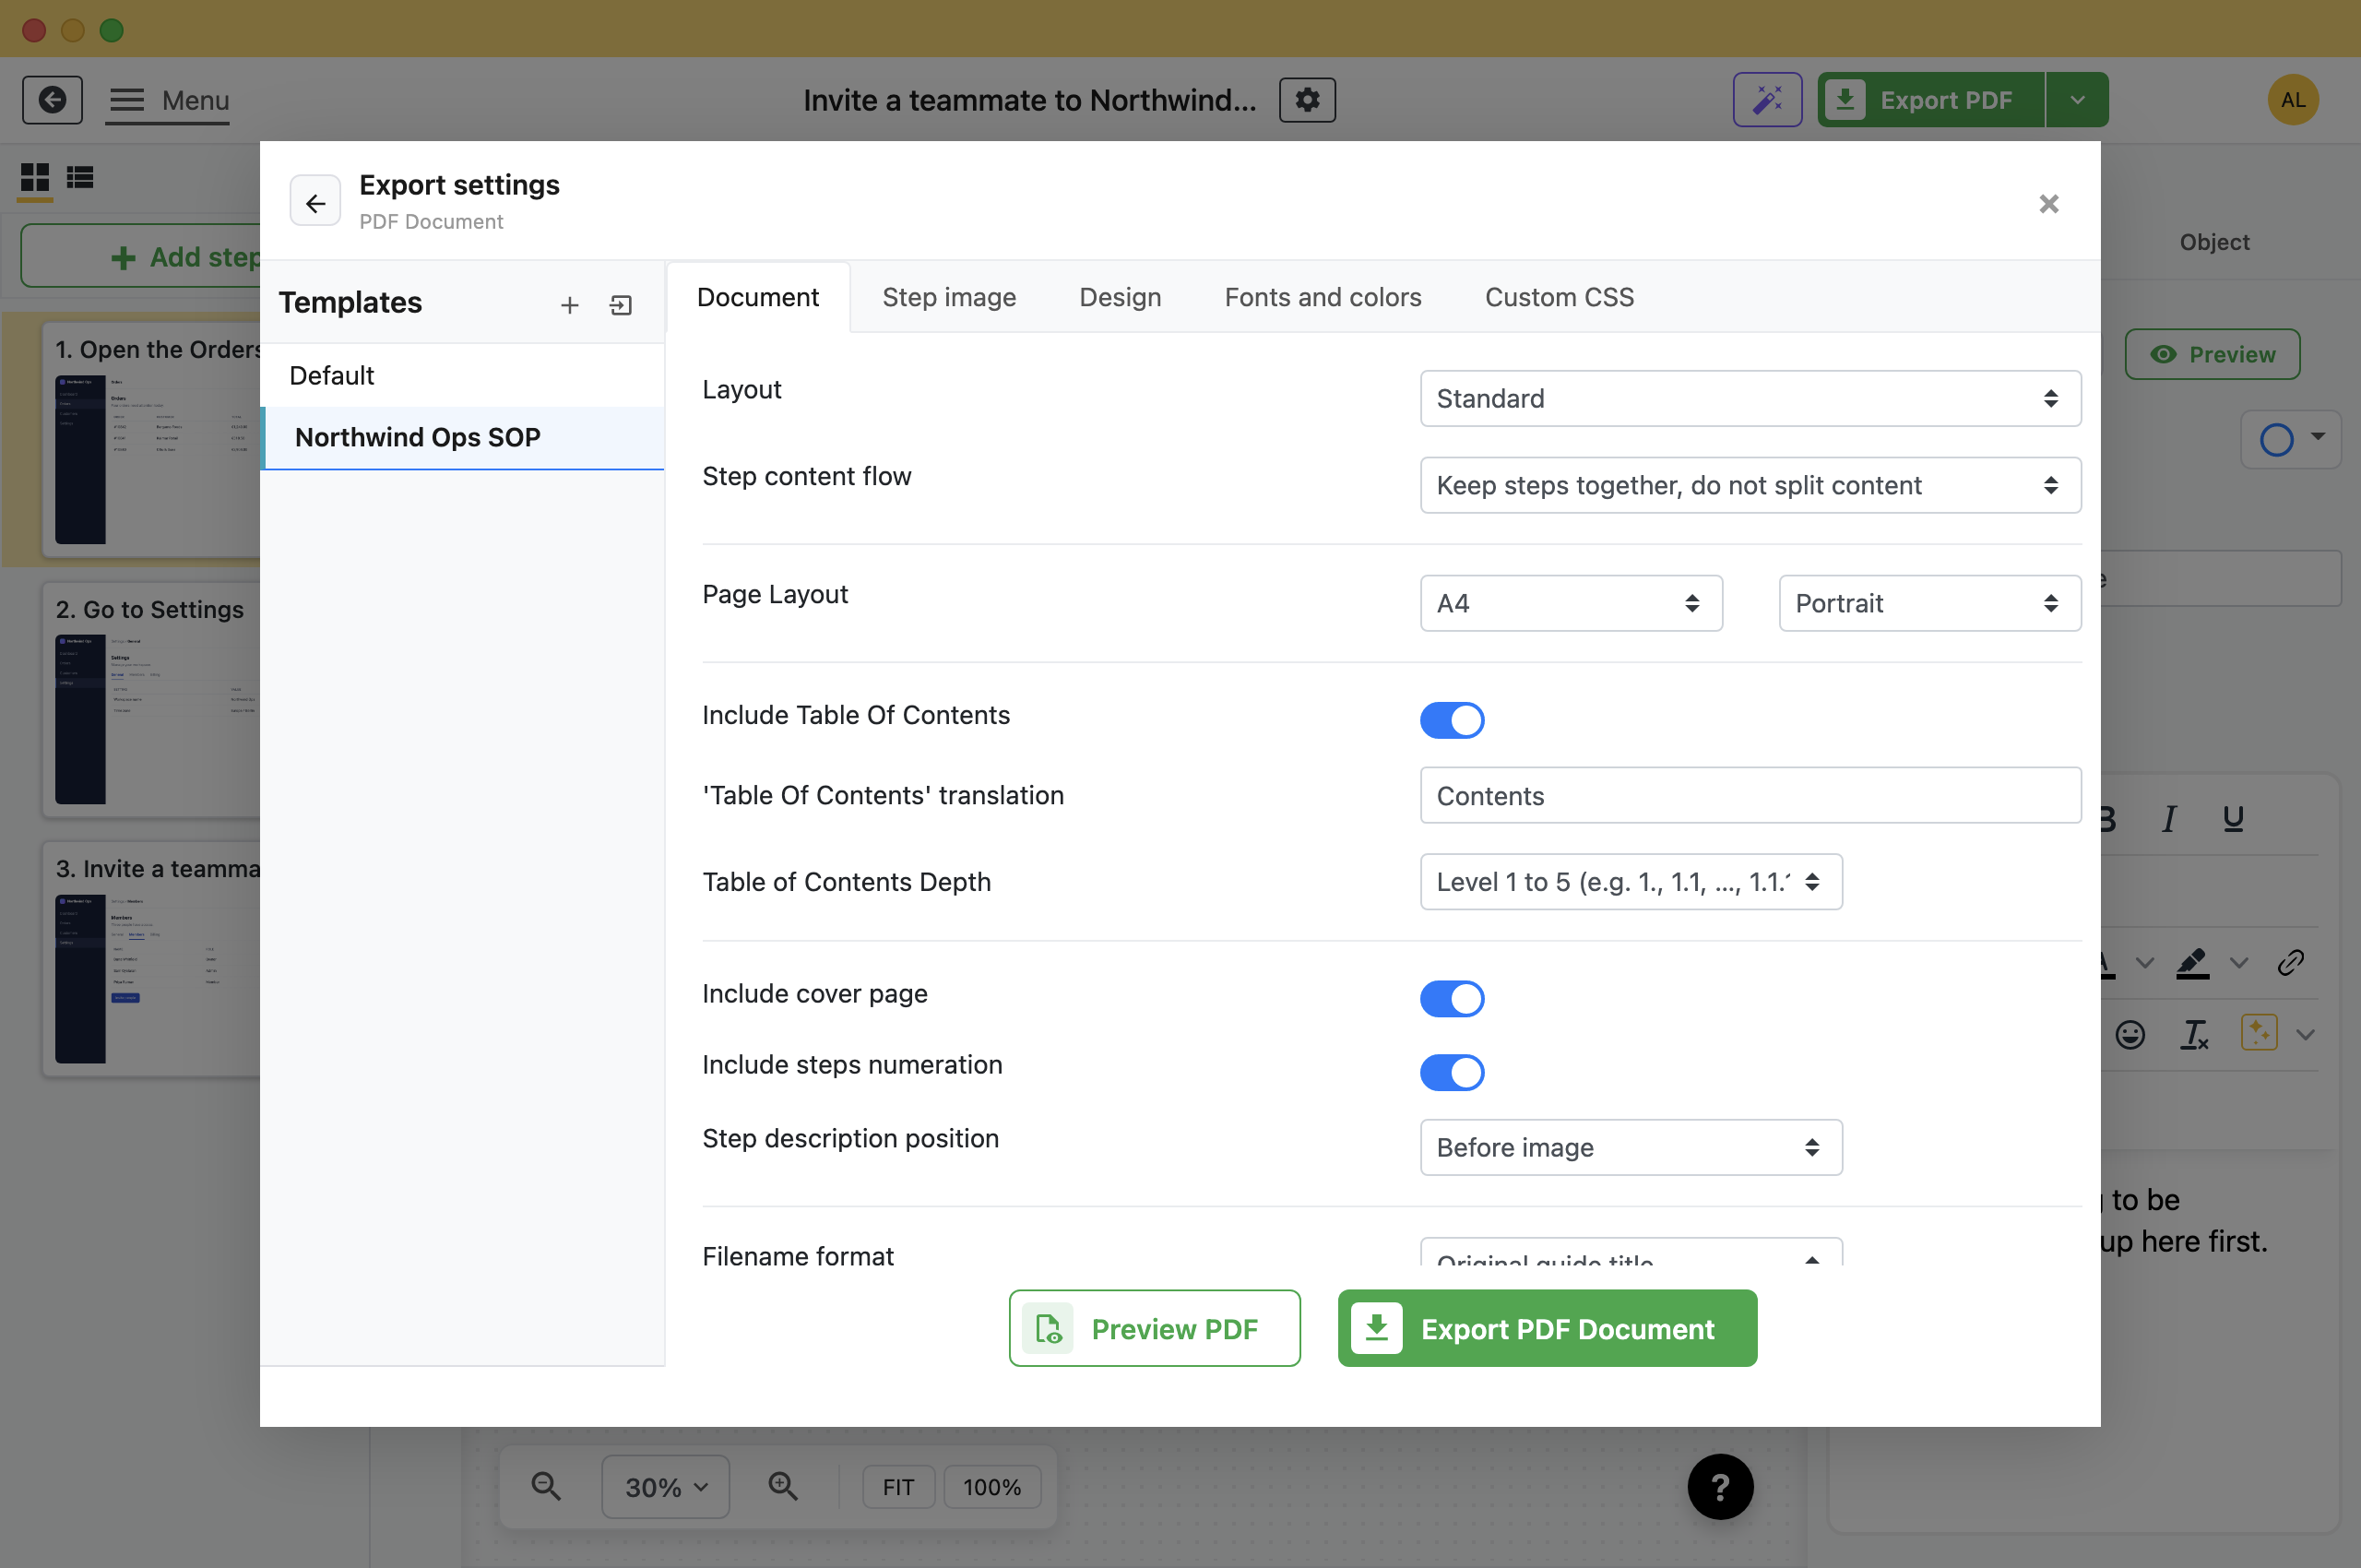
The Templates column on the left of the dialog holds whole sets of these settings. The + adds one, and the icon beside it imports a template someone sent you. Set the branding up once, save it as something like *Client Deliverable*, and every later export starts there instead of from the defaults.
What this is good for
- Send a document with your company logo and name on every page.
- Give a printed procedure page numbers so people can refer to one.
- Stop a draft being mistaken for the approved version.


Make guides like this one
Folge takes a screenshot on every click, so you make a guide by doing the task once.